jet fuel microbial contamination
FUELSTAT® is used across many aspects of the commercial aviation business wherever jet fuel is the fuel source:
- Regular testing of wing and middle tanks for contamination by operators as per Aircraft Maintenance Manuals and/or IATA guidelines
- Testing of wing tanks and middle tanks as part of MIC (Microbially Induced Corrosion) Program
- De-fuelling of aircraft prior to maintenance
- Testing of customers aircraft if you are an MRO or an FBO at maintenance visit
- Testing of fuel prior to it being loaded onto aircraft.
How to buy FUELSTAT® test kits
FUELSTAT® Features
FUELSTAT® with its simplicity and speed is particularly suited to aircraft being tested not only when in for heavy maintenance but also at line maintenance when testing is required on a more frequent than C Check basis (less than 2 years on average).
FUELSTAT® reduces the microbial contamination testing cycle. If contamination is found by an airline or an MRO, FUELSTAT® allows a retest to be done almost immediately for the maintenance staff to start the necessary actions (biocide only or clean tanks and biocide) immediately, without waiting days or weeks with traditional methods. Time delays waiting for results can often result in aircraft recalls and potentially, unscheduled AOG (Aircraft on Ground).
FUELSTAT® uses a antibody technology called immunoassay. The significant benefit to the commercial aviation sector is that FUELSTAT® test only searches for microbes that can grow and do damage to fuel systems. This means that the chances of misleading results from detection of irrelevant microorganisms (microbes that are present in fuel but do not grow) are reduced. Every time an aircraft avoids the cost and time of treatments for microbial contamination is hugely significant.
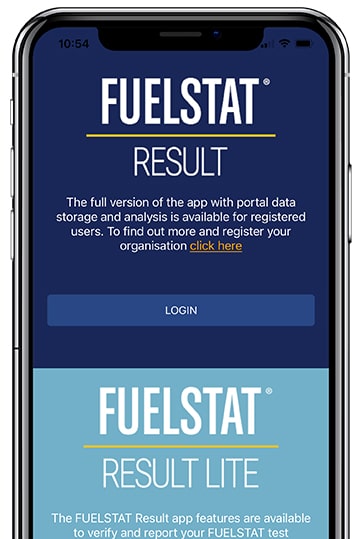
FUELSTAT® comes with a free to download app, FUELSTAT® Result. Technical Services Engineers know that the Part 145 Maintenance crews have a tool to help them verify the result and a paperless process so all testing, wherever it is done on globe, is recorded and easily accessible.
FUELSTAT® is also very competitive for airlines and MROs to use. Requiring just two minutes of labour, no expensive transport of samples off-site, no third-party testing costs and no manual recording it is used by over 400 airlines globally as a very efficient and cost-effective solution.
In summary, FUELSTAT® offers rapid testing at wing with instant data management for all aviation needs anywhere in globe. From sample to detailed Analysis Report in less than 15 minutes is a major breakthrough in both speed to result and customer service not previously available on the marketplace at an extremely attractive cost.
FUELSTAT® 15-minute aviation fuel test kit
Immunoassay antibody testing for all known microbes that are dangerous to fuel.
FUELSTAT® Result
Over 100,000 FUELSTAT® tests are used every year all over the globe in many highly regulated industries to monitor microbial contamination in middle distillate fuels. It is compliant with ASTM D8070 International Standard and is a recommended product in many industry guidance documents such as IATA.
The FUELSTAT® Plus test is sold in over 130 countries globally
and is compliant with International Standard ASTM D8070. It has been used worldwide by over 400 airlines.